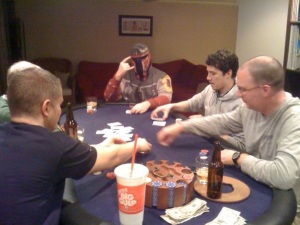
A Typical Monday Night Game